Recent Posts
Featured

Why I use Neutral Density Filters:
Let me see if I can explain this easily. Disclaimer: There are a lot of variations that come into play here and I am trying to explain this without paragraphs of technobabble.
Let’s review the principles of exposure together. We so have a couple of variables to control our exposure and how light hits our camera’s sensor; ISO, Shutter Speed and Aperture;
ISO – In film photography this determined how sensitive your film was to light. In the digital world it is how sensitive your camera’s sensor is to light. The higher the ISO the more sensitive your camera will be to light, but this comes at the cost of adding digital noise into your pictures and often at the cost of image quality. I always try to keep this as low as possible so I have the highest quality images.
Shutter Speed – This is how long you leave your shutter open thus how long you allow light to hit your camera’s sensor. You can use this to freeze or imply motion depending on the photograph you are trying to create.
Aperture – How much light you let pass through your lens and onto the sensor. This also controls depth of field or how much of the photograph is in focus.
Let’s start with the Sunny 16 rule. It says if it is a bright sunny day, and your ISO is set to 100, then the correct exposure would be 1/100 of a second at f/16. Now if you know how to multiple and divide by 2, you can get yourself to any combination of correct exposures.
ISO: 100, 200, 400, 800, 1600, 3200
Shutter Speed: 8, 4, 2, 1, 1/2, 1/4, 1/8, 1/15, 1/30, 1/60, 1/125, 1/250, 1/500, 1/1000, 1/2000, 1/4000
Aperture: 1, 1.4, 2, 2.8, 4, 5.6, 8, 11, 16, 22, 32, 45
The distance between each of these is called a stop. You can set your camera to half and third stops but for a simple illustration we are only going to speak in full stops. I always try to keep my ISO as low as possible, usually at 100 (160 on a Leica M9). With a fixed ISO we now only have two other controls to play with to get a correct exposure; shutter speed and aperture.
So let’s say we want to shoot at f/1. Since we are at our ‘sunny 16′ settings we would adjust our aperture 8 stops from f/16 to f/1. Now we would need a reciprocal shutter speed adjustment so that we are still properly exposed, so our shutter speed would need to be adjusted to from 1/125 to…wait mine stops at 1/4000 of a second. To get it ‘dark’ enough using shutter speed I would need to be at 1/32,000 of a second! My camera isn’t nearly that fast. So the only option I have left would be to ‘stop’ down my aperture 3 stops from f/1 to f/2.8, this way the reciprocal adjustment to shutter would only be 5 stops from 1/125 to 1/4000. The issue here is I can’t create that creamy bokeh I love as well now as I need to shoot at f/2.8 vs. f/1.0 otherwise my picture will be over exposed at 1/4000 of a second.
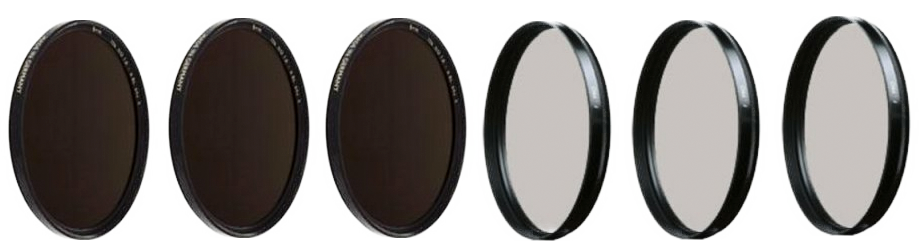
This is where the ND64 comes in as I can ‘darken’ using this filter 6 stops, so the only reciprocal adjust would be two stops to 1/500 of a second. These filters have all sorts of uses. For those that like this type of information, let me know if these types of discussions are useful on here from time to time by leaving a comment.